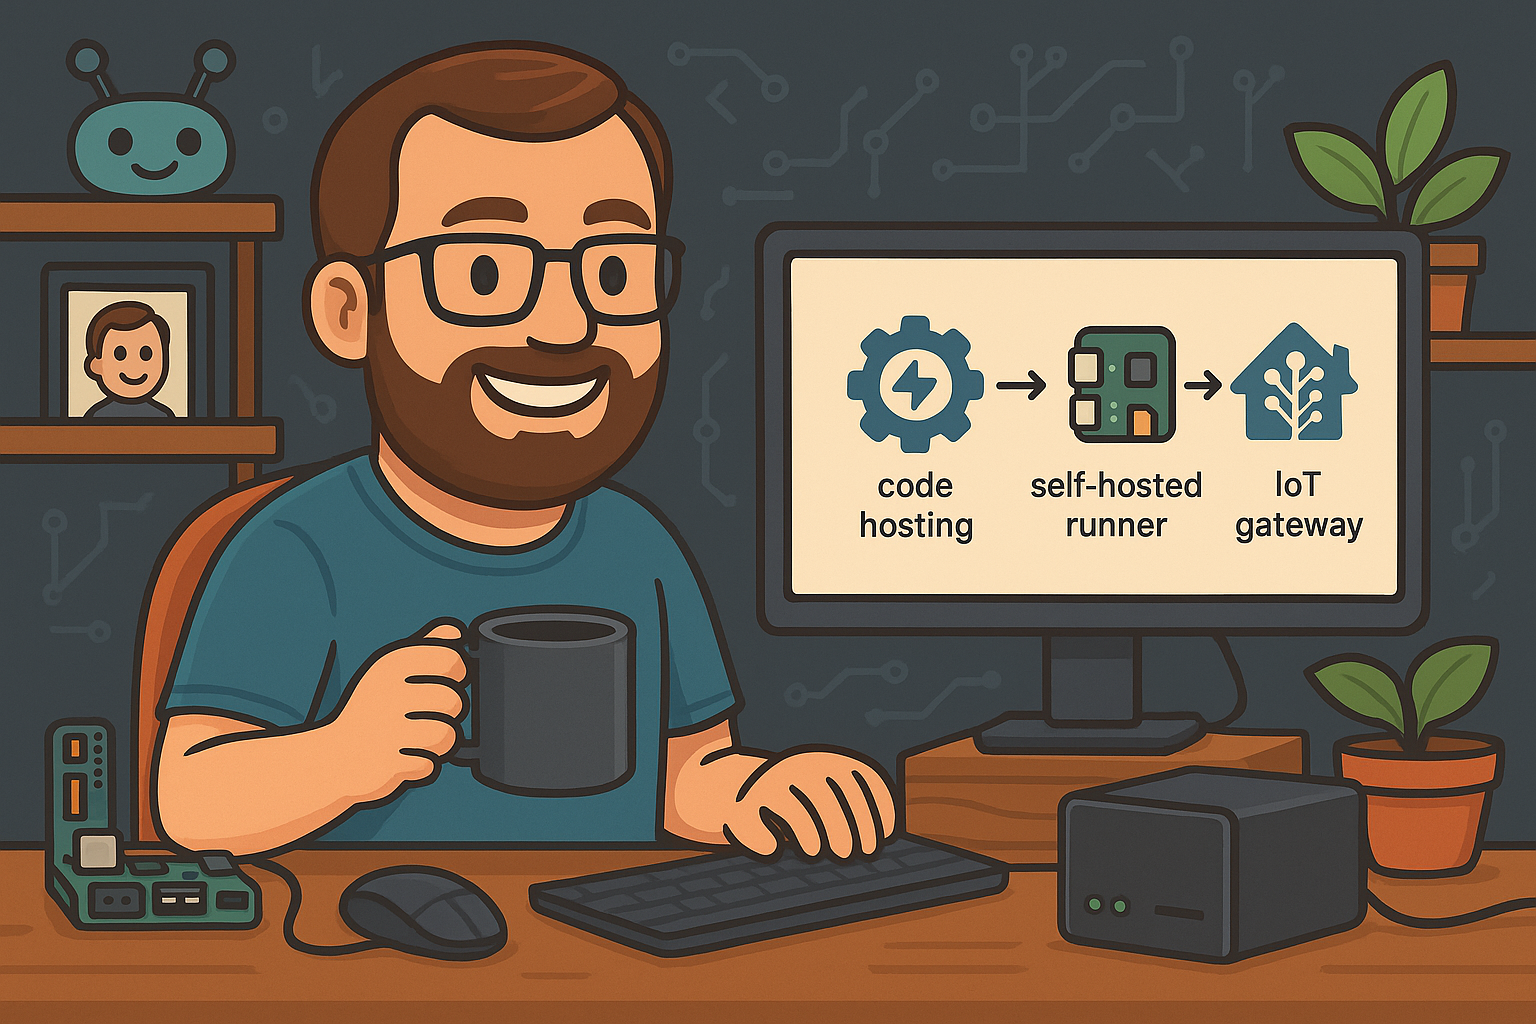
Racks Not Required: A Dad’s Guide to Budget Home Labs

Back in the pre-dad days - when my biggest responsibility was remembering my Steam password - I had time to tinker with all kinds of tech. Phones got custom firmware, speakers played synchronized music in every room, and I even built a bluetooth garage door opener. These days? I’m lucky if I can open the fridge without an audience.
Still, the itch to tinker never left. Enter: the home lab - a middle-aged man’s playground, minus the Legos (mostly). I always want to keep developing skills and learning when I can. Setting up a simple home lab has helped do just that.
It’s nothing fancy - it’s a custom router, simple thin-client PC with some extra memory, a few Raspberry Pis, a NAS for storage and backup, and some networking equipment. Trust me I’d love to have a server rack and get some better equipment, but what I’ve got has been perfect for what I’m doing.
Here’s a quick overview of the gear I’m using before I dive into my network architecture and services in future posts.
Router

Let’s start with the heart of any modern home—no, not the coffee maker—the router. Mine’s a modest pfSense box that routes packets better than I route family road trips.
I currently have fiber internet giving me great speeds. Probably overkill for most of our needs, but it comes in handy working from home and for streaming all the Cocomelon and Bluey episodes. Right behind the fiber modem is a Mini Itx Linux Q330G4 running pfSense. Here’s the spec breakdown:
- Intel Core i3-4010U CPU @ 1.70GHz
- 8GB DDR3 RAM
- 4x Gigabit LAN ports
- 16GB SSD
I bought it in 2021 and has very basic specs, but it’s built for being used as a custom router and has worked great for us over the years. I went through several routers before I wanted to create VLANs to separate different equipment in our house. I stumbled upon pfSense which gave me full control over my network. I’m able to create multiple VLANs, set up all of the networking rules, isolate certain networks, assign static IPs, even run some additional packages like Tailscale or a reverse proxy. It’s been a good learning experience, but I think I’ll be switching to OpnSense the next time I roll a new router.
Managed Switch and APs
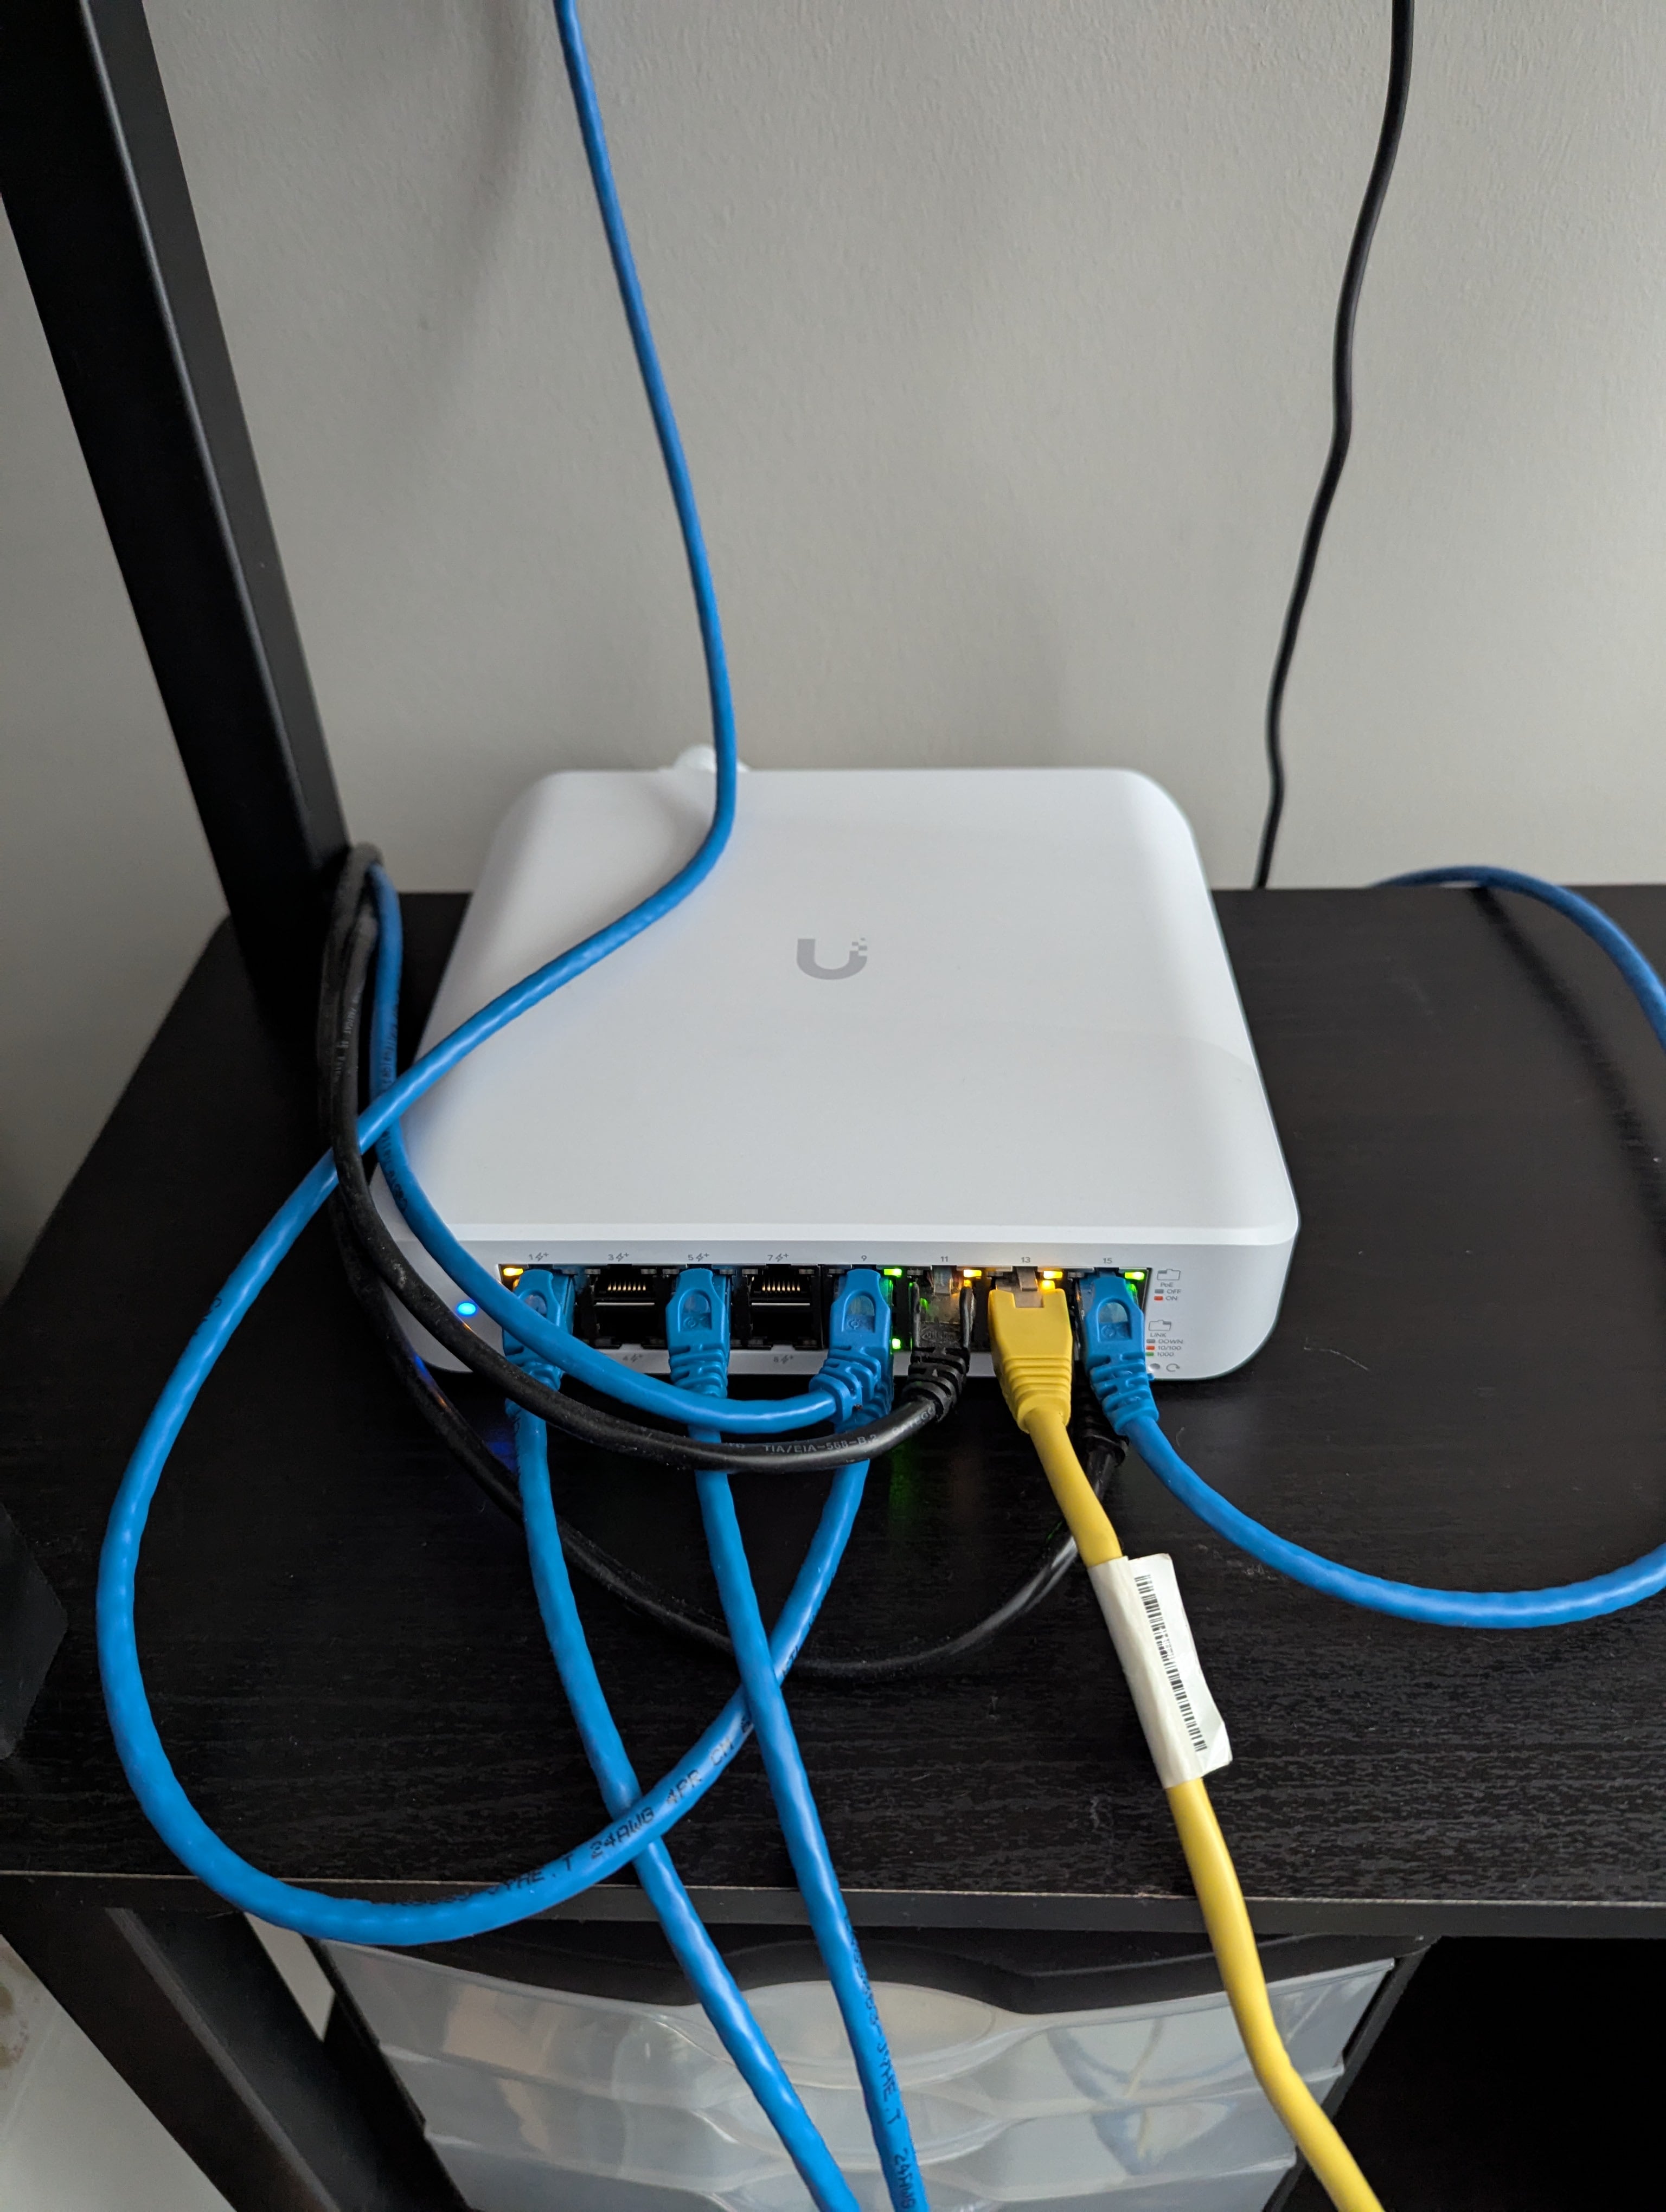
Recently I replaced all of my TP-Link hardware with Unifi and it has been a game changer. I have a managed switch, the Ubiquiti Switch Lite 16 PoE, which splits traffic between a few devices in my office and an access point. I self-host Unifi Network Server which helps me understand and manage all traffic across my network. It was important to have this be the very first device after my router so I could have as much insight into my network as possible.
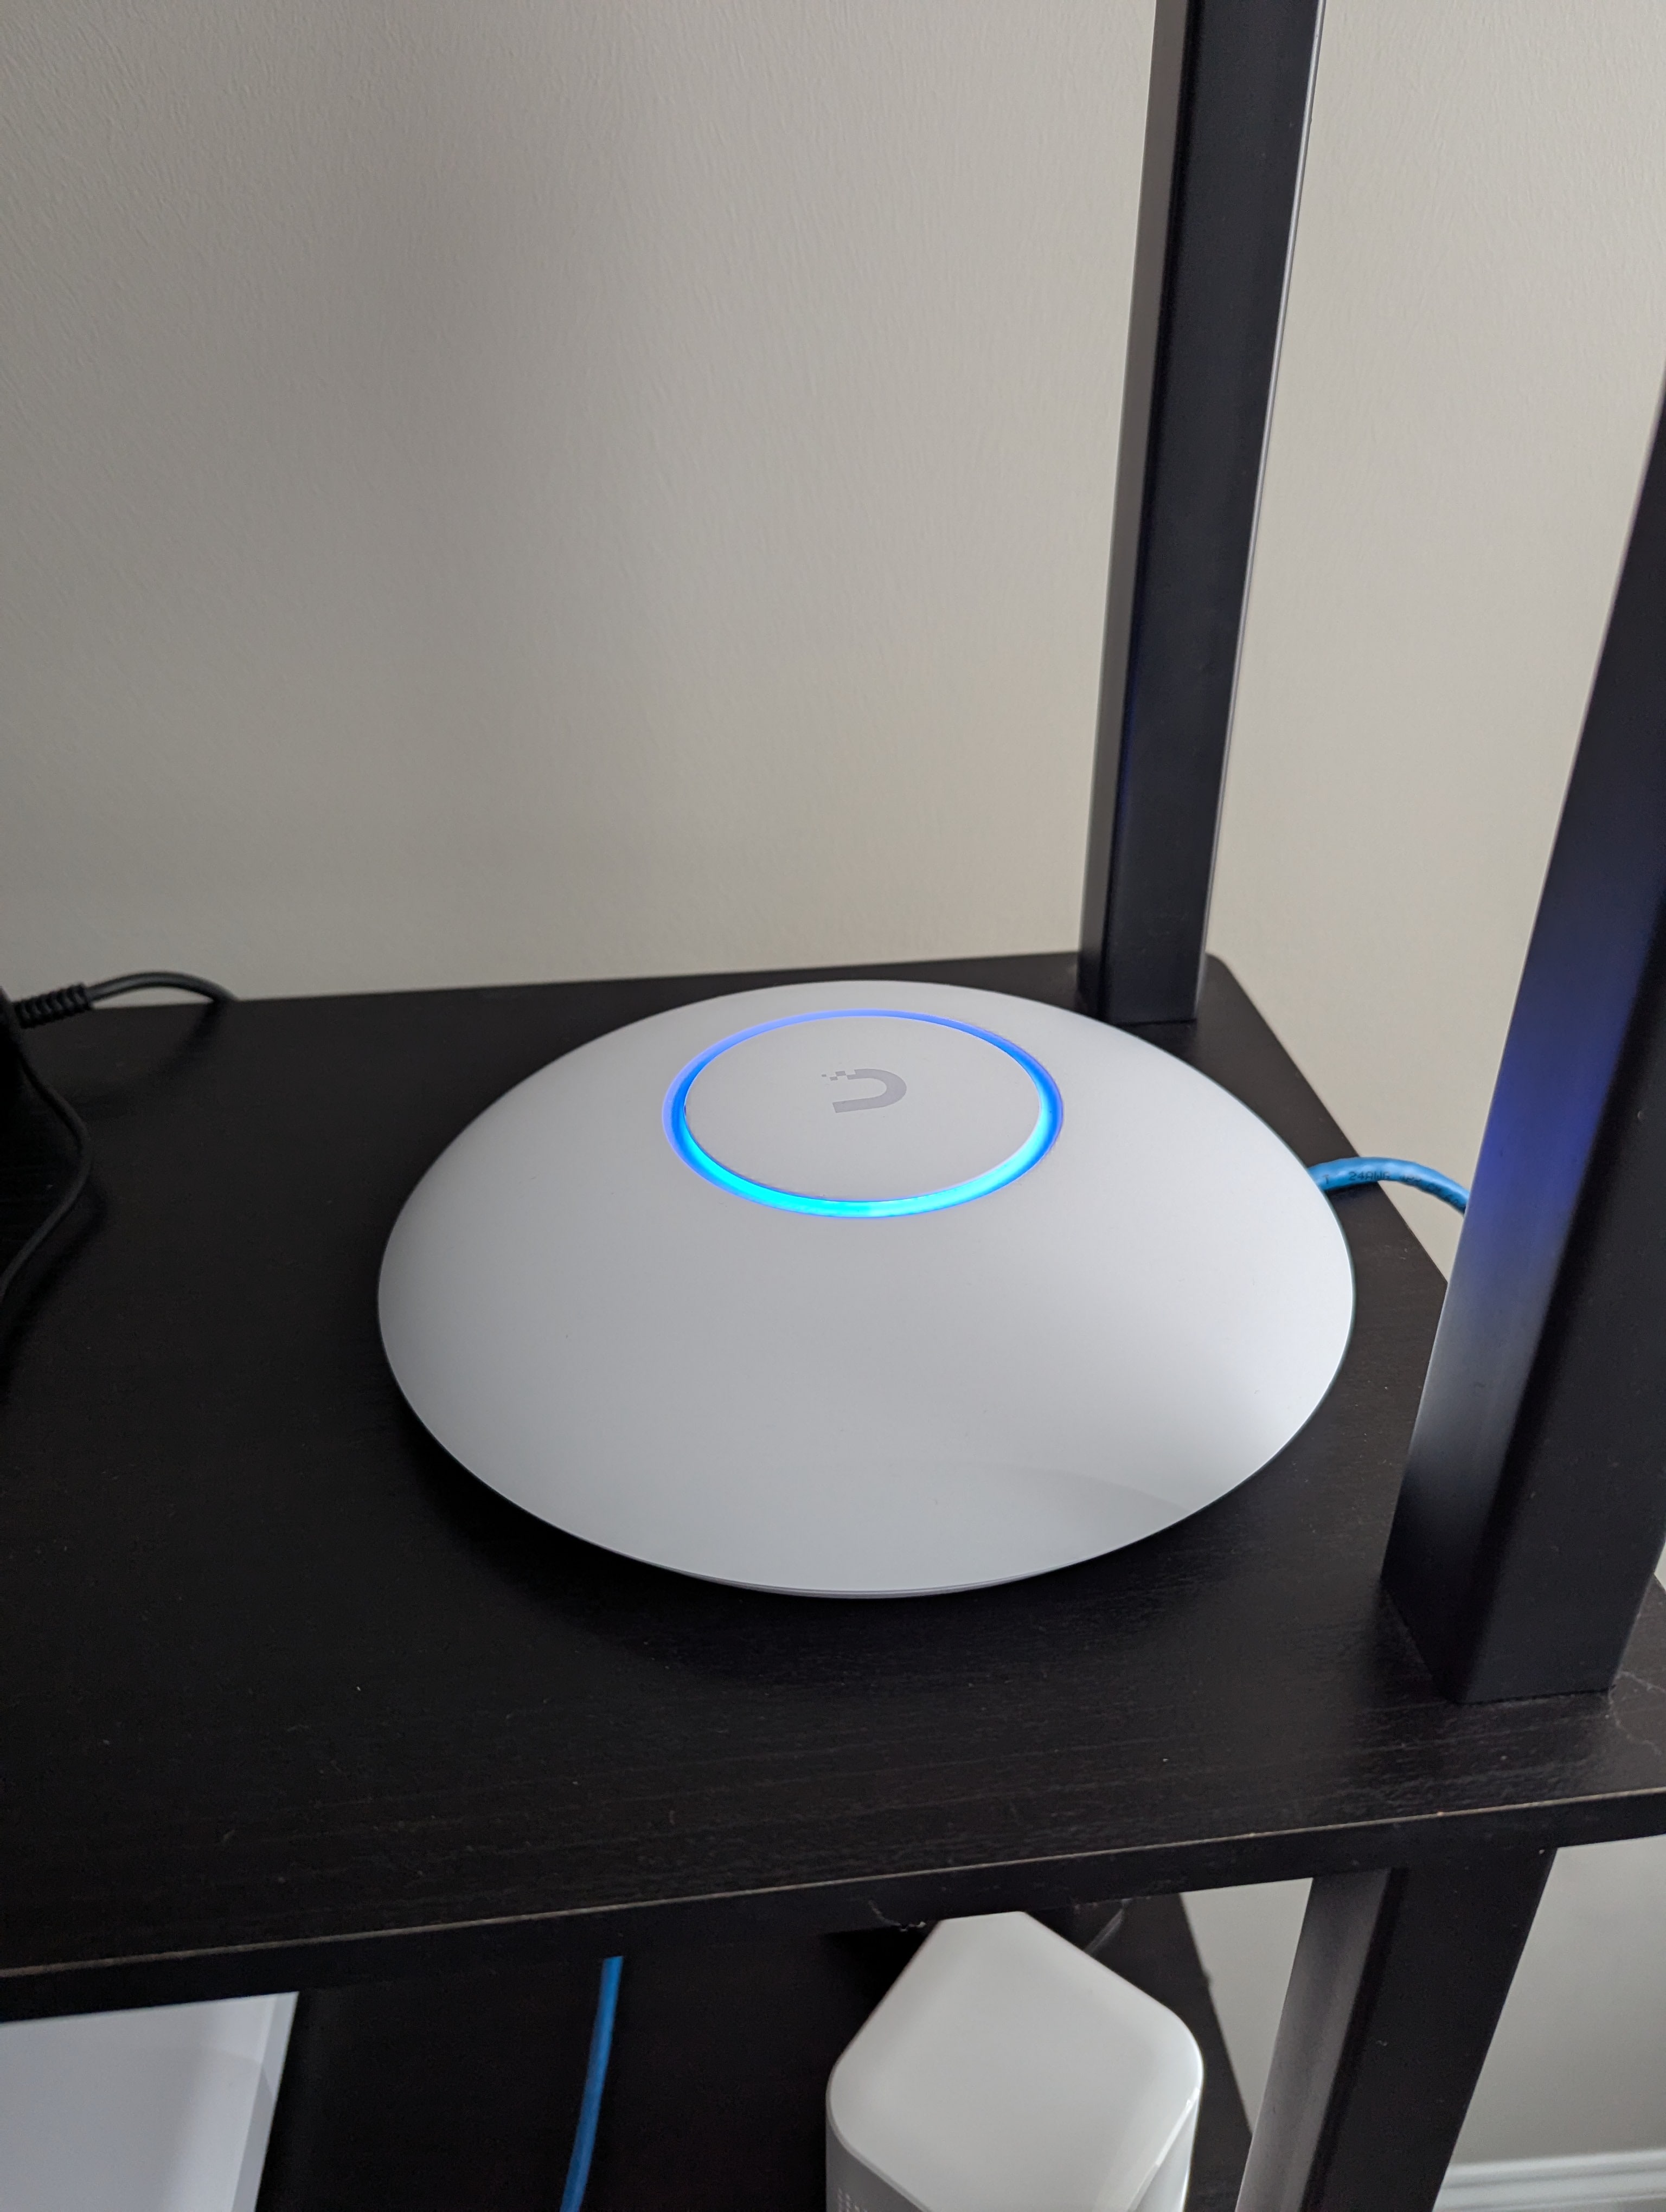
Unfortunately my house is not hard wired. I purchased two Ubiquiti Networks UniFi 7 Pro Access Points - one that is hard wired in my office straight off the switch, and one running in wireless mesh mode downstairs. These provide great coverage, and through the Unifi Network Server I’m able to define multiple wifi networks whose traffic is tagged with particular VLAN ids I created in my pfSense router.
NAS - Backup and Storage
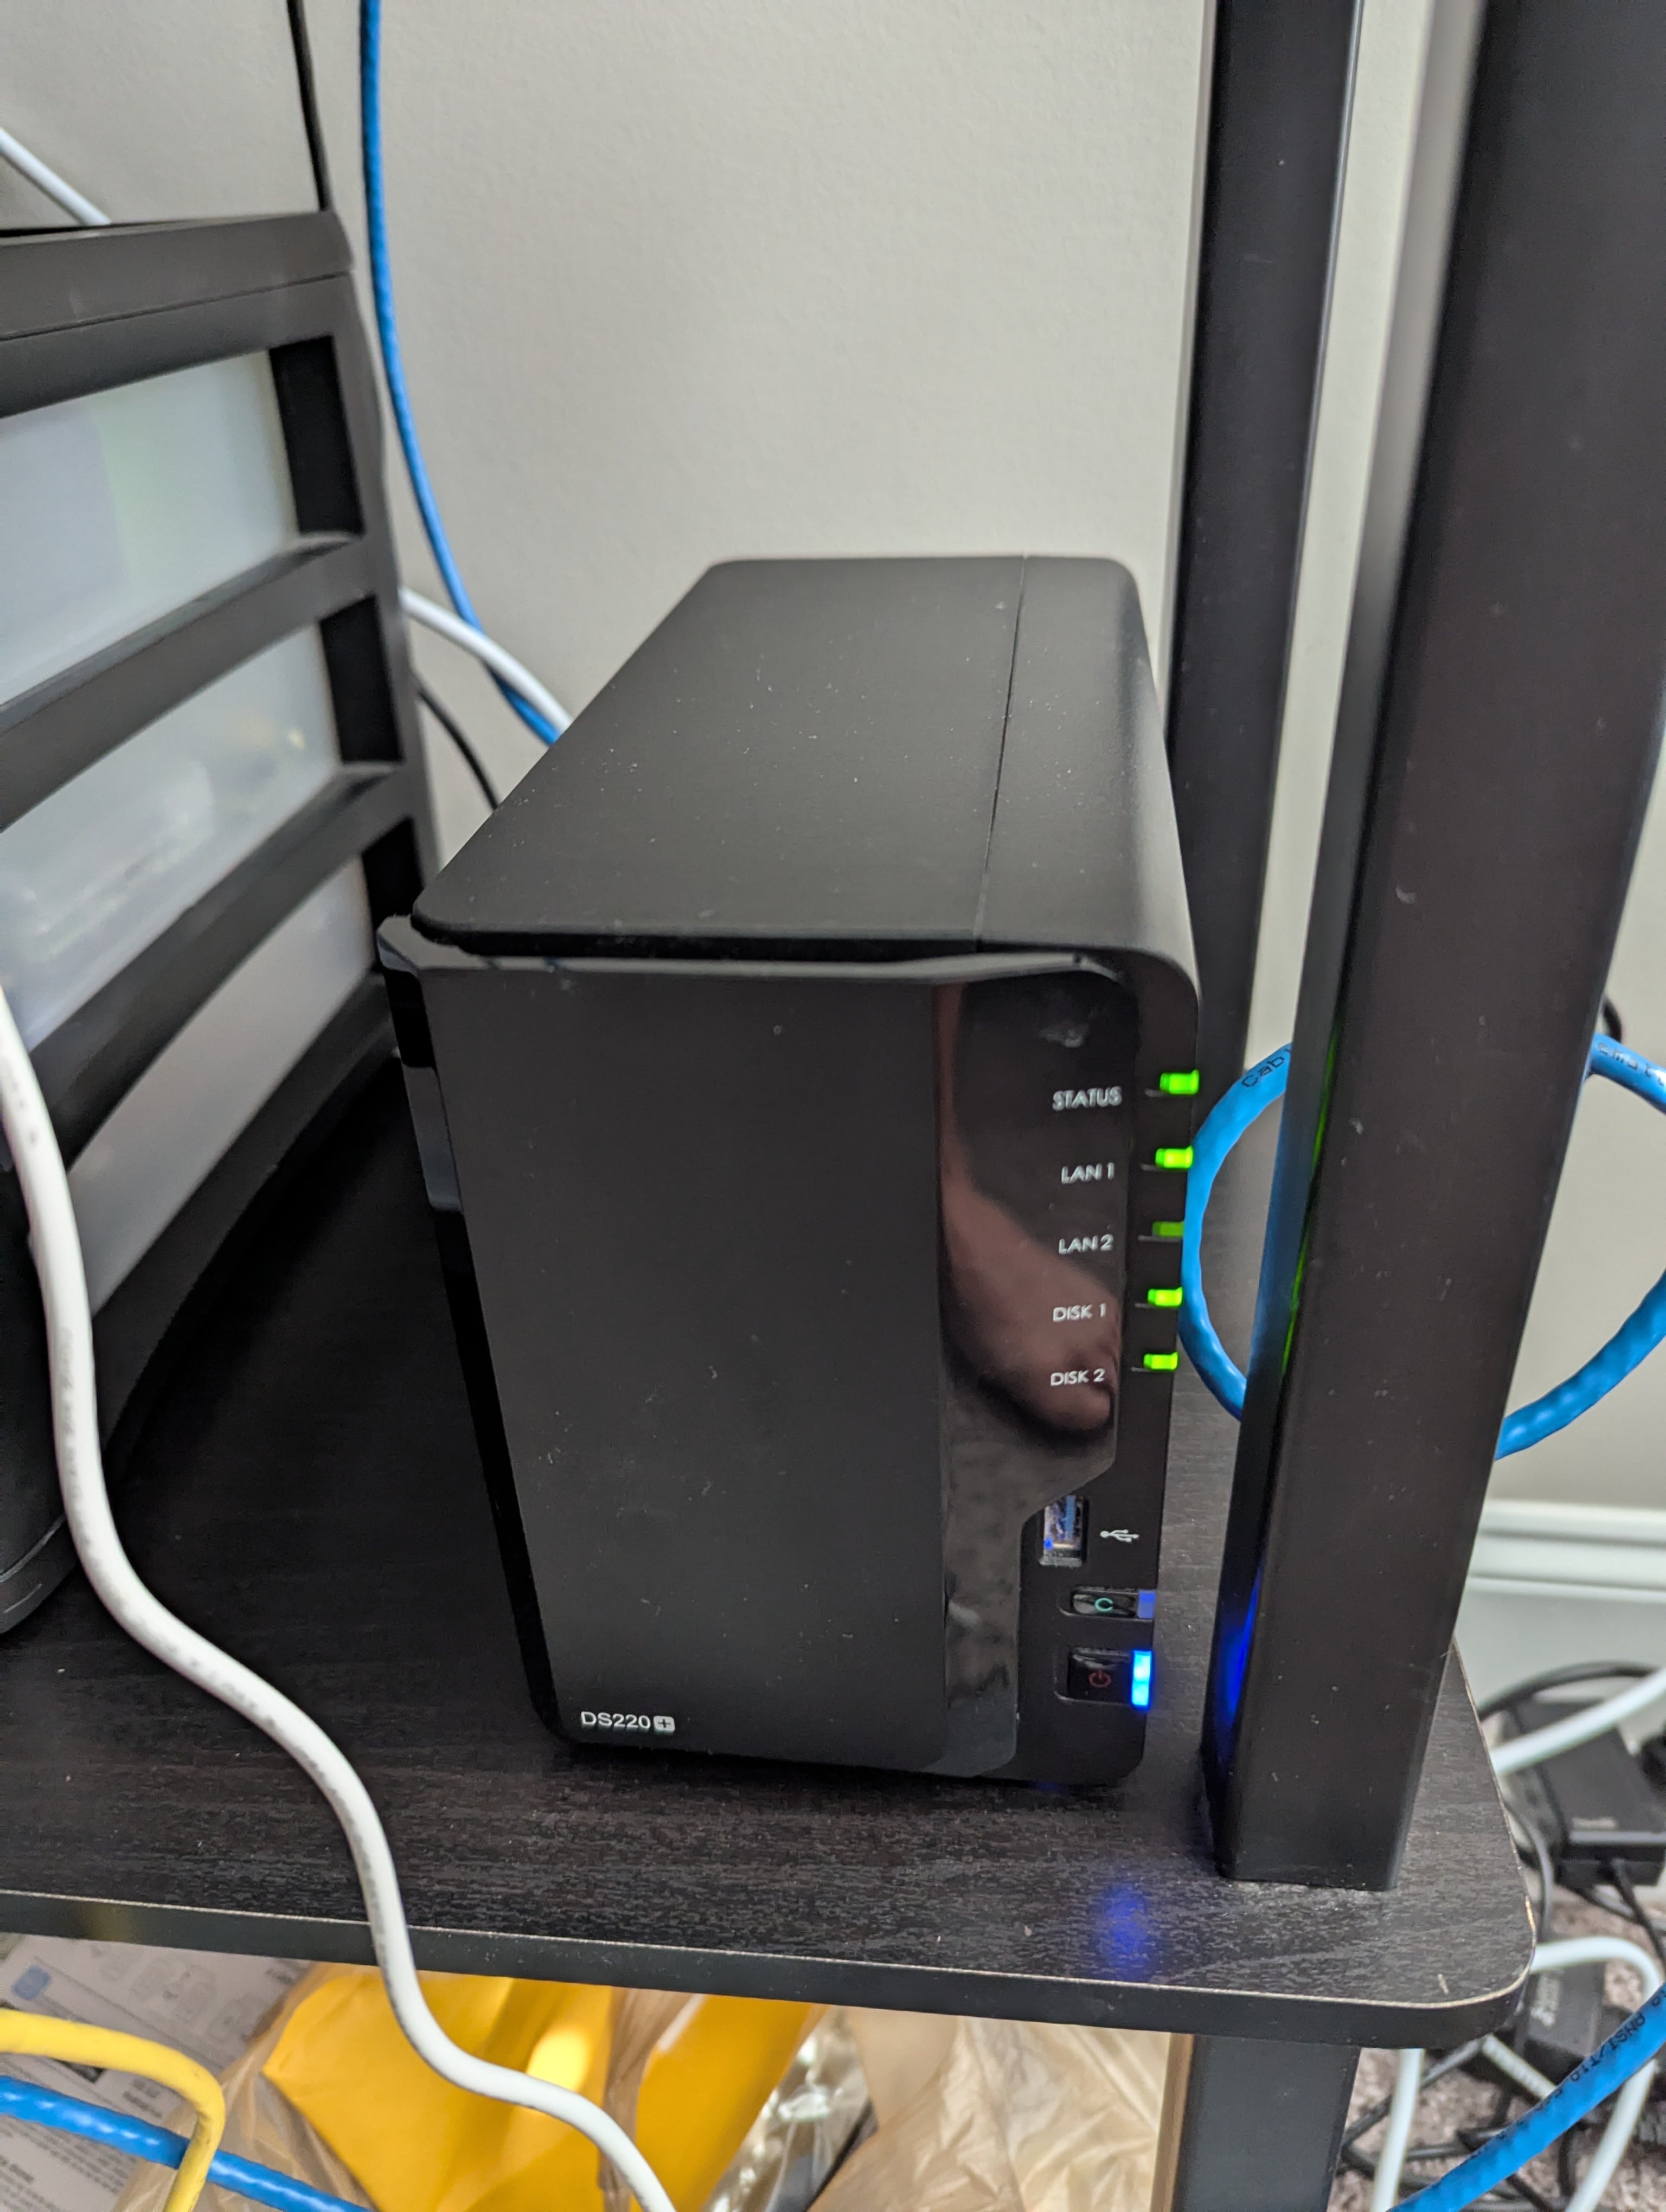
I have a Synology 2 bay NAS DiskStation DS220+ with two Seagate IronWolf 8Tb HDDs. It’s set up in SHR, which stands for “Save Him from RAID.” Just kidding - SHR stands for Synology Hybrid RAID. SHR is just an automated RAID management system that takes care of configuration for me so I don’t have to worry about it. Making my life easier 😃
This NAS has two GbE ports, which unfortunately I’m not fully taking advantage of at this time. I also do not run a crazy amount of things on my NAS, I primary just use it for daily backups, storing project files, and occasionally wondering why I saved 12 copies of the same config file. The NAS can run a lot of extra software and services, but I preferred to have those run on my Proxmox machine instead of on the NAS for decoupling, ease of migration/trying other services, and because Proxmox makes it very easy to get things up and running.
Primary Home Lab PC

Behold the most exciting unexciting machine in my house. It’s a Dell Optiplex 7040m - a tiny box with the heart of a champion and the size of a sandwich. It’s not very exciting, but this is the main attraction, both for how simple the hardware is and for what it runs. I upgraded it with:
- 32GB KIT(2x16GB) DDR4 2133MHz
- I had a spare 128GB SSD laying around I used for the OS and some storage
- A 1TB Western Digital WD Blue SA510 SATA III 6 Gb/s SSD for secondary storage
I installed Proxmox and this thing runs like a champ. It’s low power, quiet, currently runs 6 LXCs and 4 Ubuntu Server VMs, and 1 Home Assistant VM. I’m still only using 24 out of the 32GB of memory and have plenty of storage left. I added my Synology NAS as NFS storage and use that for daily backups. I’ll talk about the services I’m running in another article coming soon, but I cannot emphasize how much this one little box does for me and how flexible it is running Proxmox. It’s super simple to stand up a new VM or container, assign a VLAN tag to it, assign storage, and have it accessible within minutes. It runs a daily backup of all containers and VMs so I have peace of mind and can roll things back if, I mean when, I screw things up inside one of those resources.
Raspberry Pis
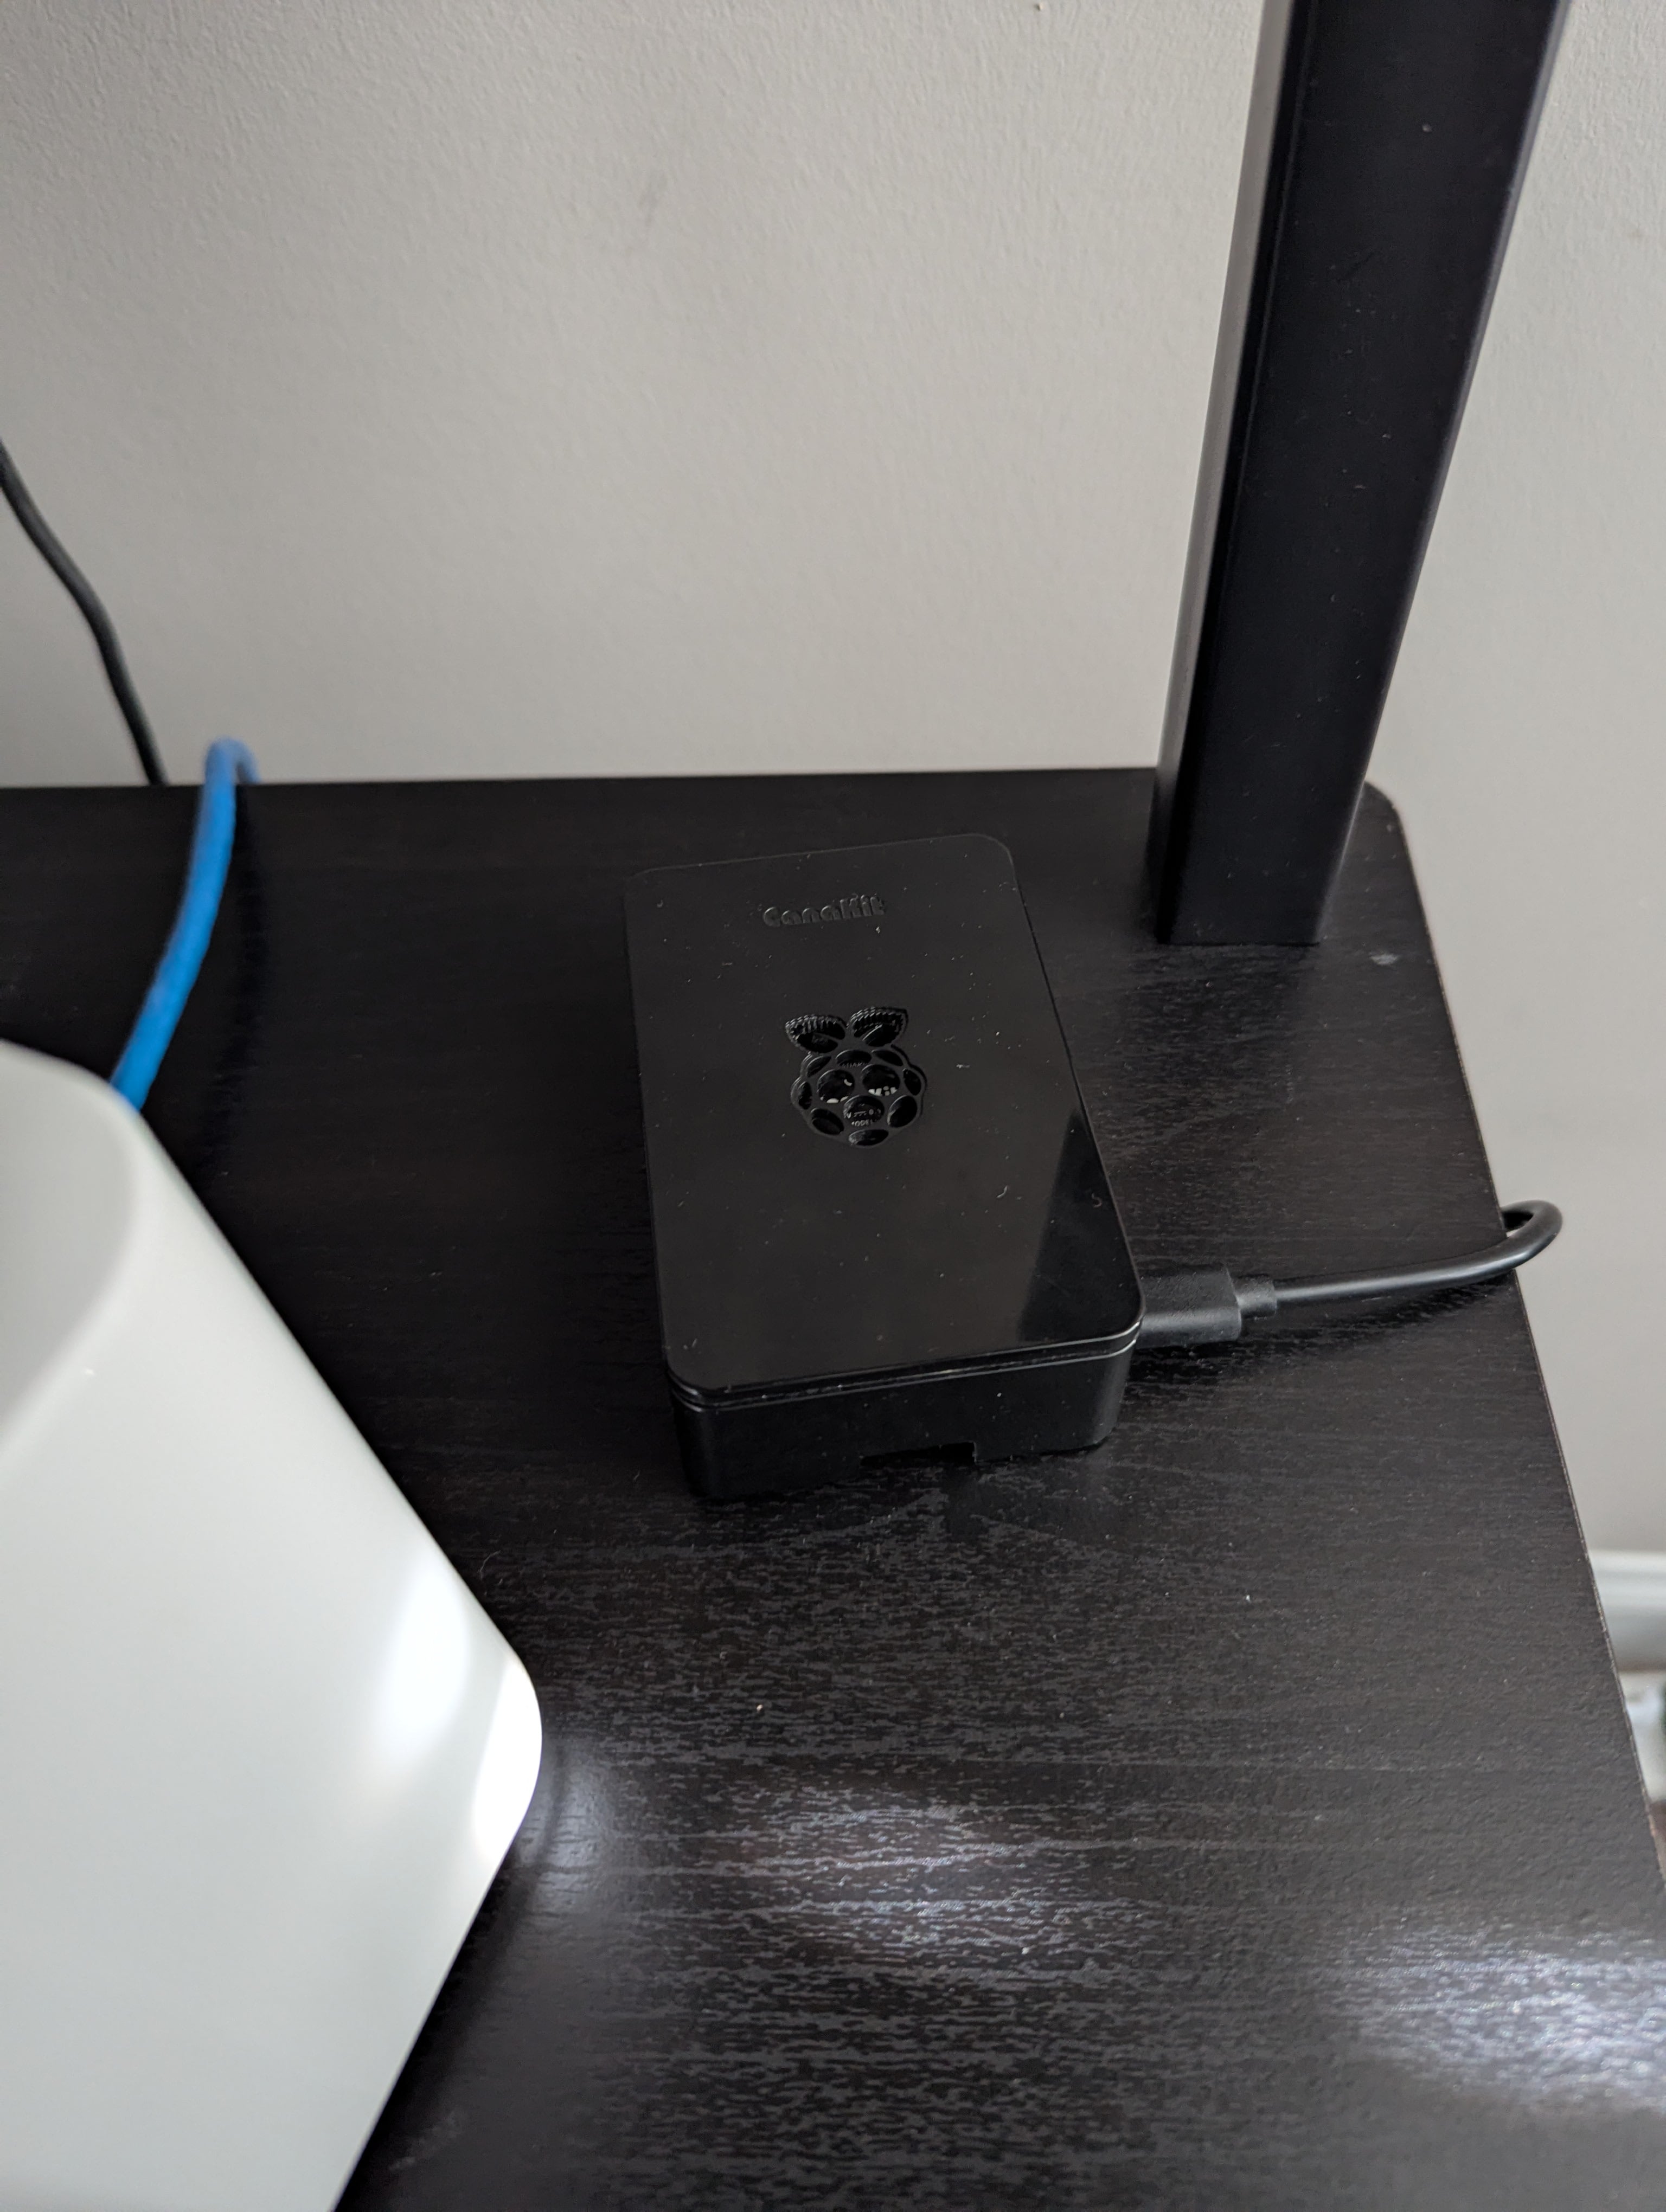
I’ve been a fanboy of Raspberry Pis every since they debuted years ago. Some may say it’s not pretty, but I think the little machines are fantastic supplementary machines. I’ve used my Pis for gaming systems, for learning purposes (I built a Kubernetes cluster at one point), for trying new services, and to host some important services like Tailscale so I can access things in my network even when other hardware is down. I do not have a Pi 5 yet, however I have a few Pi 4Bs, and I have to recommend purchasing a kit that includes a power supply, SD card, heat sinks, a fan, and a case. I purchased the CanaKit Raspberry Pi 4 8GB Starter Kit - 8GB RAM which comes with everything you’ll need to get started and keep your Pi running in good condition.
Conclusion: Nothing Fancy
So there you have it - my humble home lab. Not fancy, not flashy, but it gets the job done (unlike my attempts at building Ikea furniture without swearing). You don’t need server racks or liquid cooling - just some curiosity, a few budget-friendly parts, and a willingness to admit you totally messed up that last VLAN config.
I wouldn’t call it a home lab, but I started self-hosting websites and opening firewall ports on an ancient PC and basic D-Link router years ago. I’m really not too far from that now. I’ve upgraded some things over the years as with any technology, but you don’t have to spend a fortune to have your own home lab. Be smart about what you purchase, make sure it is flexible but powerful enough to last you at least a few years, and the most important thing is to just get it up and running so you can have fun with it.
In my next few posts I’ll fill you in on all the services I’m running that help me keep my network secure, provide tools and useful services I expose to the internet, and some other services that help me every day that I only provide internal access to.
Let me know what you think of my current set up and what you’re running in your own home lab! I’d love to hear how others are tackling the same problems. It will also give me ideas for a new setup in our future home!