Goodbye Cloudflare Pages, Hello Workers: A Hugo Deployment Makeover - Plus Slack Notifications!

Recently, Cloudflare kept nudging me to migrate from Pages to Workers - and by “nudging,” I mean waving a persistent banner in my face like a toddler with a glitter-filled craft project. I’ve deployed a few sites to Pages and appreciated the simple setup, but after digging into Workers, I decided to give it a go. Let’s walk through the pros, the cons, and how I’ve reworked my CI/CD pipeline. As a cherry on top, I’ll show you how I wired up Slack to keep me posted on every build and deploy - because sometimes I like someone to notice my accomplishments.
First, here’s a link to the official Cloudflare migration docs - the source of truth, and pretty straightforward.
Comparison
Cloudflare has an official comparison matrix between Pages and Workers. I’m linking to it here because Workers is still evolving - and I’m sure it’ll get more bells, whistles, and maybe even a foghorn soon.
The biggest perks of switching (for me):
- That persistent migration banner finally goes away - like finishing the dishes and realizing you’ve won a small domestic war.
- Disabling the default domains Cloudflare provides is a breeze - no duct tape or DNS incantations required.
- I can manage deployment options in code (IaC fans, rise up!)
- For static sites it’s not essential, but server-side stack traces are nice to have
- Cron triggers: because sometimes you just want your site to do stuff while you sleep
Now this part isn’t in any official documentation, but Workers just feels like the future of Pages. It’s more flexible, better suited for infrastructure-as-code approaches, and easier to evolve as your site grows. Like swapping out your clunky flip phone for a smart one - it just makes sense.
Switching to Proper CI/CD
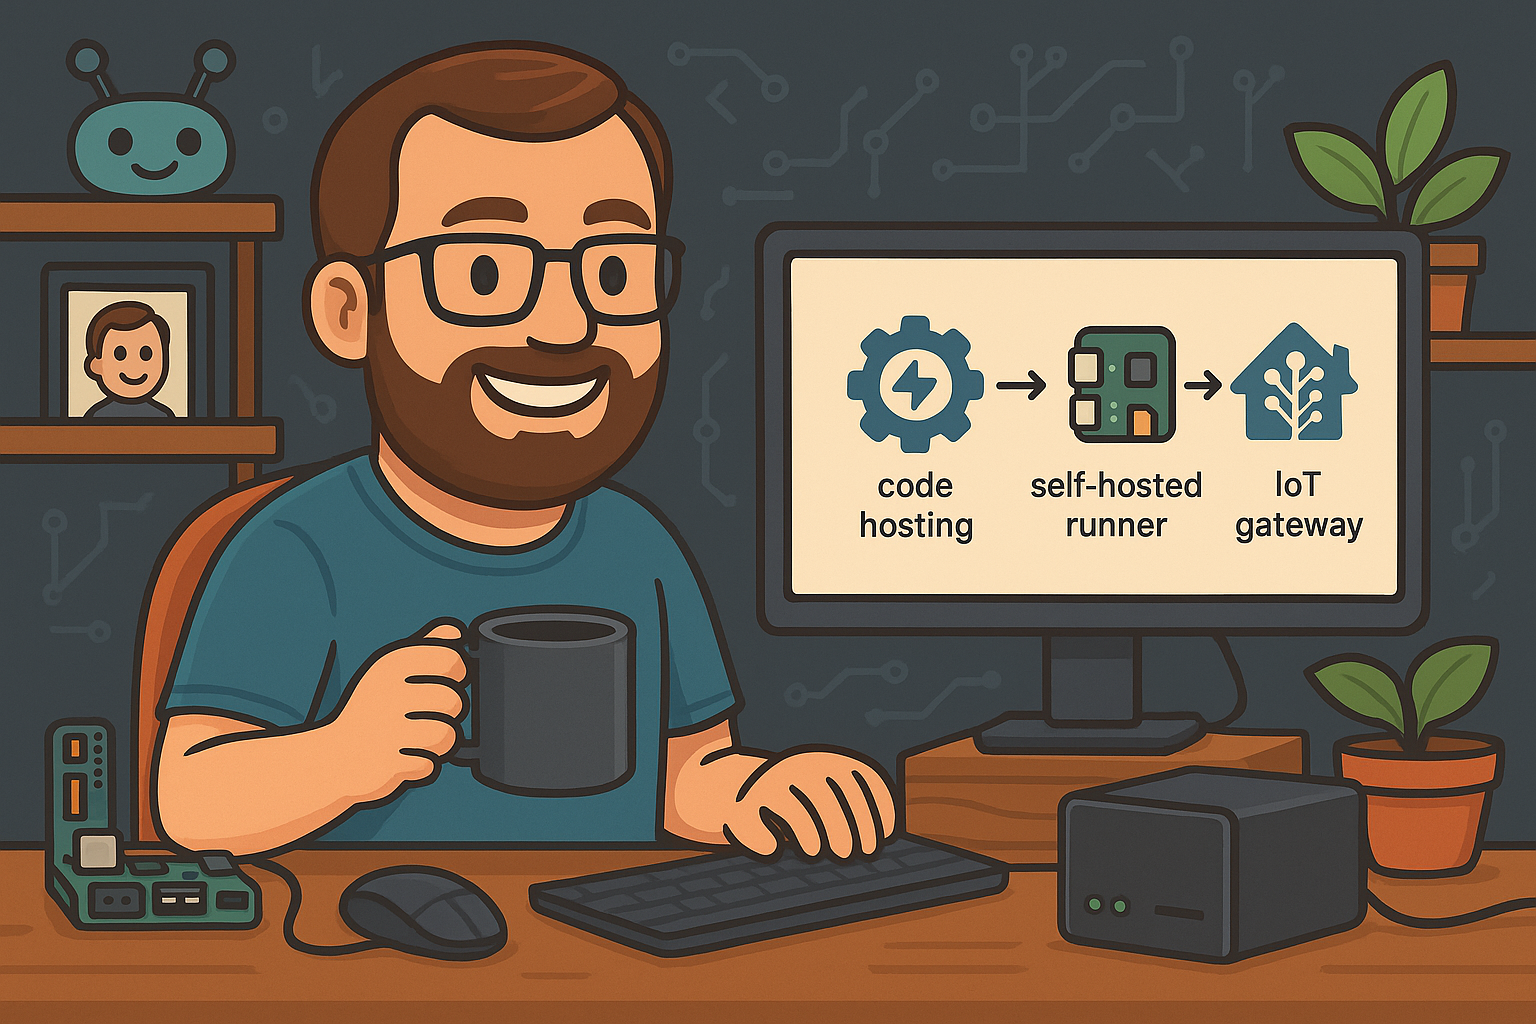
I wanted to combine some of the best practices from my Automating Theengs Gateway with Github Action Runner article and apply them to my Hugo sites. Workers gave me the perfect excuse to modernize things.
My Git repo lives on GitHub, and I switched to using GitHub Actions for my pipelines. It gives me:
- More flexibility (thanks to a smorgasbord of official and community-built actions)
- IaC-style pipeline management
- Seamless integration with Infisical for secrets
- Easy migration later on - just swap out the deploy step, not the whole workflow
There’s more setup upfront, but like any good DIY project, it pays off. Let’s roll up our sleeves.
Switching to Cloudflare Workers
I was running a basic Pages setup, so your mileage may vary. Good news: you can set up Workers without disturbing your existing project. The only real interruption is when you move your custom domain. Here’s the step-by-step breakdown.
Pages Prep
You’ll be committing new files, so start by disconnecting your GitHub repo from the Pages project:
- In Cloudflare, go to Workers & Pages > Your Pages project > Settings tab
- Click Disconnect repository
Don’t worry - it’s like unplugging your toaster. The toast (your current site) doesn’t disappear.
Create Your Worker
From the Workers & Pages dashboard:
- Click Create
- Choose Start with Hello World!
- Rename your Worker if you’d like. Note the name for
wrangler.tomllater on. - Click Deploy
At this point, you’ve got a cheerful little “Hello World” response - a blank canvas for your Hugo masterpiece.
In the root of your repository, create a file named wrangler.toml. For our Hugo site, you can copy and paste the example I have documented below, just make sure to change your project name to the name of your worker you defined in the first step.
#project name
name = 'dads-tech-lab'
# ensures that this will be compatible for this specific version of Cloudflare Workers
compatibility_date = '2025-07-31'
# disables *.workers.dev URL
workers_dev = false
# disables preview URLs
preview_urls = false

[assets]
# directory of static files
directory = './public'
# tells the worker that you have a custom 404 page when a requested
# asset is not found, and should be found in the directory set in the above line.
not_found_handling = '404-page'worker.dev or preview URLs hanging out in the wild like forgotten socks behind the dryer. The config above makes sure they stay disabled - even across deployments.That’s it for the Worker setup. Simple, readable, and easier than assembling a trampoline - and safer, too.
Proper CI/CD with Github Actions
I say “proper” CI/CD with all the love in the world for Cloudflare’s native setup, but decoupling build from deploy just gives you so much more control. Like finally getting a remote that works for all your devices.
Defining an Actions File
From the root of your repository, create a file located at .github/workflows/hugo.yml. Let’s walk through my hugo.yml file step by step we’re on the same page.
# Sample workflow for building and deploying a Hugo site to Cloudflare Workers
name: Deploy Hugo site to Pages

on:
  # Runs on pushes targeting the default branch
  push:
    branches: ["master"]

  # Allows you to run this workflow manually from the Actions tab
  workflow_dispatch:

# Default to bash
defaults:
  run:
    shell: bash

jobs:
  # Build job
  build:
    runs-on: ubuntu-latest
    env:
      HUGO_VERSION: 0.148.2
      # NODE_VERSION: 22.15.1
    steps:
      - name: Hugo setup
        # You may pin to the exact commit or the version.
        # uses: peaceiris/actions-hugo@75d2e84710de30f6ff7268e08f310b60ef14033f
        uses: peaceiris/actions-hugo@v3.0.0
        with:
          # The Hugo version to download (if necessary) and use. Example: 0.58.2
          hugo-version: ${{ env.HUGO_VERSION }}
          # Download (if necessary) and use Hugo extended version. Example: true
          extended: true
      # - name: Setup Node.js environment
      #   uses: actions/setup-node@v3.9.1
      #   with:
      #     node-version: ${{ env.NODE_VERSION }}
      - name: Checkout
        uses: actions/checkout@v4
        with:
          submodules: recursive
      # - name: Install Node.js dependencies
      #   run: "[[ -f package-lock.json || -f npm-shrinkwrap.json ]] && npm ci || true"
      - name: Build Hugo Site
        run: |
          hugo --minify
      - name: Upload a Build Artifact
        uses: actions/upload-artifact@v4.6.2
        with:
          # Artifact name
          name: artifact # optional, default is artifact
          # A file, directory or wildcard pattern that describes what to upload
          path: |
            public
            ./wrangler.toml

  # Deployment job
  deploy:
    runs-on: ubuntu-latest
    needs: build
    steps:
      - name: Download a Build Artifact
        uses: actions/download-artifact@v5.0.0
        with:
          # Name of the artifact to download. If unspecified, all artifacts for the run are downloaded.
          name: artifact
      - name: Deploy to Cloudflare Workers with Wrangler
        # You may pin to the exact commit or the version.
        # uses: cloudflare/wrangler-action@c25aadc9657b0cdc4786c04e59a6fe92765a783b
        uses: cloudflare/wrangler-action@v3.1.0
        with:
          # Your Cloudflare API Token
          apiToken: ${{ secrets.CLOUDFLARE_API_TOKEN }}
          # Your Cloudflare Account ID
          accountId: ${{ secrets.CLOUDFLARE_ACCOUNT_ID }}
          # The version of Wrangler you'd like to use to deploy your Workers project
          wranglerVersion: 4.28.0
I’ve added comments for each line within the file, but here’s a basic breakdown:
- First we define the basics, the name, the deployment triggers (when committed to the master branch AND on a manual trigger), and defaulting to
Bashfor any scripts. - I like to break things down into multiple jobs rather than just one, so we have a jobs array containing both a
buildand adeployjob. - Inside of the
buildjob, we first define a couple variables including the Hugo version to use. You’ll see that even though I didn’t need Node.JS to build this project, I do for other ones, so I left some lines here you can uncomment if you need them. For thisbuildjob:- We take advantage of one of the community actions to install and set up Hugo Extended.
- We checkout our code
- We run a build command
- We upload only the build artifacts we need to make them available on other jobs. In this case, we only need the
publicfolder that our site’s static files are built and moved into, and ourwrangler.tomlfile for our Cloudflare Worker configuration.Keep artifacts smallPro tip from experience - keep your artifacts small. Only pass what you need. Think of it like packing for a weekend trip - no need to bring 17 pairs of socks “just in case.”
- Inside of the
deployjob:- We first download the artifact uploaded from the previous job containing all the files we need.
- Use the official Cloudflare Worker action to deploy our site.
I added the CLOUDFLARE_API_TOKEN and CLOUDFLARE_ACCOUNT_ID secrets referenced to Infisical so that I take advantage of my central secret repository and keep things in sync. You can read more about how to set that up in the article section linked below.
You can find instructions on how to get your Cloudflare Account ID from the official Cloudflare Account ID Docs and you can follow the official Cloudflare Account API Token documentation to create your API Token. I left all the defaults the same (don’t be like me - you should probably give it more explicit control), and I gave it access to all my zones.
Once you commit your action file, Github should automatically pick up the new workflow and kick off your new CI/CD pipeline! Check out the deployment logs under the Actions tab to review the logs, check for errors, and fix any issues.
Clean Up After Yourself
The final step in the process is to do a little cleanup to your workers in Cloudflare Workers and Pages.
- Remove your custom domain from the old Pages project
- Add your custom domain to your shiny new Worker
- Confirm DNS records are updated and pointing correctly
- Once happy, delete the old Pages project
- (Optional) Rename your Worker project - just make sure to update the name property in
wrangler.tomlif you do
Bonus Round: Slack Notifications
Want to know the build results without refreshing GitHub 12 times? Set up a Slack webhook! I won’t go into too much detail here, but I have a personal Slack workspace I set up to get notifications from various services. If you set up a custom Slack app with the correct permissions, scopes, and webhook settings, you can have your Github Action Workflow send the results of your build and deploy steps to Slack via webhook.
Once you create your custom Slack app, add the following Bot Token Scopes:
- channels:read
- chat:write
- chat:write:public
- incoming-webhook
Make sure to activate your incoming webhook, install the app to your workspace, add the app to the channel you want to post to defined in the incoming webhook settings, update your .github/workflows/hugo.yml to include the additional notify job defined below, and you’ll have build and deploy results coming straight to your Slack workspace!
...

  notify:
    runs-on: ubuntu-latest
    # make sure this always runs even if the "needs" jobs failed or skipped
    if: ${{ always() }}
    # needs both previous jobs
    needs: [build, deploy]
    steps:
      - name: Send to Slack
        # You may pin to the exact commit or the version.
        # uses: slackapi/slack-github-action@91efab103c0de0a537f72a35f6b8cda0ee76bf0a
        uses: slackapi/slack-github-action@v2.1.1
        with:
          # A location for posting request payloads.
          webhook: ${{ secrets.SLACK_WEBHOOK_URL }} # optional
          # Option to use either an incoming webhook or webhook trigger.
          webhook-type: incoming-webhook
          # Attributes that create the content of the request using JSON or YAML.
          payload: |
            blocks:
              - type: "section"
                text:
                  type: "mrkdwn"
                  text: "*GitHub Action results*: \n*Workflow*: ${{ github.server_url }}/${{ github.repository }}/actions/runs/${{ github.run_id }} \n*Commit*: ${{ github.event.pull_request.html_url || github.event.head_commit.url }}"
              - type: "section"
                text:
                  type: "mrkdwn"
                  text: "Build result: *${{ needs.build.result }}*"
              - type: "section"
                text:
                  type: "mrkdwn"
                  text: "Deploy result: *${{ needs.deploy.result }}*"
This
notifyjob also takes advantage of the webhook URL including a token that is stored in an Infisical secret and synced with Github.
My message is simple - just enough info to celebrate or investigate. It contains a link to the workflow result, the commit that kicked it off, and results for both the build and deploy jobs. For fancier layouts, check out Slack’s Block Kit Builder.
Bonus dad joke: Why did the CI/CD pipeline get promoted? It always delivered 😂
Migration Complete
We’ve got a flexible setup, versioned pipelines, secure secrets, and a talking Slack bot. That’s a good day’s work. Time to kick back, sip some coffee, and pretend you didn’t just spend three hours picking the perfect Slack emoji.
Share this article if it was helpful and let me know if you have any issues, questions, or comments below. If you end up building a slick Slack integration, I’d love to see it!